Final Expense Insurance Market: Growth Trends, Industry Insights, and Future Outlook
Networking |
2026-03-14 08:27:28
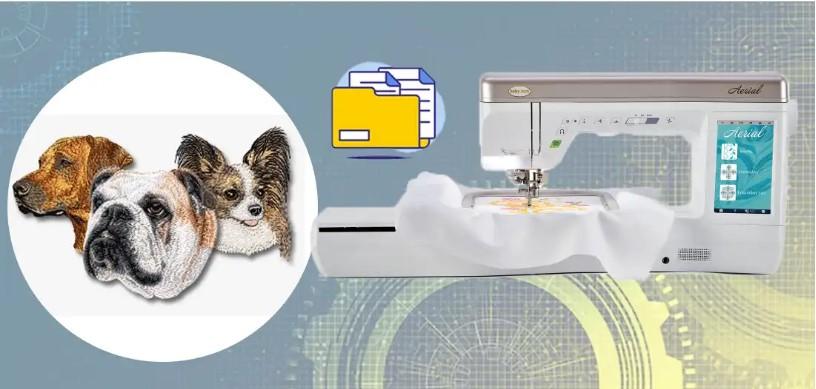
Embroidery is a great way to show a brand on fabric. Many shops use it on shirts, caps, bags, and coats. A stitched logo looks clean and strong. It also lasts a long time. That is why many brands choose embroidery for their work wear and promo items.But a logo cannot go straight from a normal image file to a Babylock embroidery machine. The machine needs a stitch file. This file tells the needle where to move and when to change thread. Many people learn how to Convert Logo To Embroidery For Babylock so their logo can run on these machines.
The process that prepares the design is called digitizing. It turns a flat logo into stitch paths. These paths guide the machine step by step. When the work is done well, the final stitch looks neat and smooth.In this guide, we will explain how to turn a simple logo into a Babylock embroidery design. The tips come from real embroidery work. They will help you avoid common errors and get better stitch results.
Babylock machines are very popular in the embroidery world. Many home users and small shops use them for custom work.
These machines are known for their ease of use.
They offer:
Because of this, many beginners start their embroidery journey with a Babylock machine.
A normal image file only shows colors and shapes. A machine needs stitch data.
An embroidery file tells the machine:
Without this information, the machine cannot create the design.
A clean logo is the first step to great embroidery.
Good artwork helps the digitizer create smooth stitches.
Some file types work better than others.
Vector files are the best option. Examples include:
These files keep shapes sharp at any size.
If a vector file is not available, a high-resolution image can also work.
Blurry images create digitizing problems.
Edges become hard to trace. This can cause uneven stitching.
Always use the clearest version of the logo.
Thread behaves very differently from ink.
Because of this, very complex logos may not stitch well.
Tiny elements may disappear during stitching.
These include:
Removing them helps the design stay clear.
Bold shapes create strong stitches.
Thin outlines often break or look uneven.
Simple shapes make the embroidery look better.
Size plays a big role in embroidery.
A design that is too small may lose detail.
A design that is too large may not fit the product.
Different products need different logo sizes.
Chest logos are usually three to four inches wide.
Cap designs are often around two inches wide.
Large jacket logos may be eight to ten inches wide.
A simple trick is to print the logo on paper.
Place it on the product.
This shows how the final design may look.
Each color in embroidery needs a thread change.
Too many colors slow down the machine.
Most embroidery designs use:
This keeps stitching smooth and fast.
Thread shades may not match digital colors exactly.
Digitizers often use thread charts to find the closest shade.
Experts such as Embroidery Digitizing Services in USA - Digitizing Buddy carefully match colors to keep the brand look strong.
Different parts of a logo need different stitch styles.
Knowing this helps create a better embroidery design.
Running stitch is a basic line stitch.
It works well for:
Satin stitch creates a smooth and shiny line.
It is often used for:
Fill stitch covers large spaces with thread.
It is used for:
A skilled digitizer selects the best stitch for each section of the design.
Text can be one of the hardest parts of embroidery.
Small letters may become messy stitches.
Choose fonts that are:
Simple fonts stitch much better.
Most experts suggest letters should be at least four to five millimeters tall.
This keeps the text readable after stitching.
Thin strokes may break during stitching.
Thicker letters produce stronger embroidery.
Stitch direction affects how the thread reflects light.
It also changes the texture of the design.
Different stitch angles help:
Proper stitch direction also prevents fabric tension.
This keeps the embroidery flat and neat.
Professionals at Embroidery Digitizing Services in USA - Digitizing Buddy often adjust stitch angles to improve final results.
Fabric type has a strong effect on embroidery quality.
Different fabrics behave in different ways.
Examples include:
These fabrics support dense stitching.
Examples include:
Soft fabrics stretch more.
Digitizers adjust stitch density to protect the fabric.
Stitch order tells the machine which part to stitch first.
Correct order improves the final design.
Good stitch planning helps:
Most designs follow this order:
This builds the design layer by layer.
Testing is very important in embroidery.
Even well digitized designs should be tested.
Run the design on scrap fabric first.
Check for:
If problems appear, small changes can fix them.
Digitizers may adjust stitch paths or density.
Quality focused teams like Embroidery Digitizing Services in USA - Digitizing Buddy often run tests to ensure smooth results.
Many beginners make simple mistakes when preparing embroidery designs.
Avoiding these issues can save time and money.
Poor artwork leads to poor digitizing.
Always start with a clean logo.
Tiny designs lose detail quickly.
Keep the design large enough for stitching.
Too many thread colors slow down production.
Keep the palette simple.
Fabric affects how stitches behave.
Always consider the material before stitching.
Several tools help prepare logos for embroidery.
These tools make editing and digitizing easier.
Graphic tools help clean and adjust artwork.
Popular options include:
These programs help simplify shapes and colors.
Digitizing software converts artwork into stitch files.
Popular programs include:
These tools allow full control of stitch paths and design flow.
Embroidery does more than decorate fabric. It also builds brand trust.
A clean stitched logo shows quality and care.
Customers notice well made embroidery.
A strong design can help a brand stand out.
That is why careful digitizing and preparation are so important.
Turning a logo into a Babylock embroidery design takes planning and skill. A simple image must be prepared, simplified, and digitized before it can be stitched.
The artwork must be clear. The shapes must be bold. The colors must be simple. The stitch paths must be planned carefully.
When each step is done correctly, the embroidery machine can stitch the logo smoothly. The final design will look clean, balanced, and professional.
By following the tips in this guide, you can transform your logo into a strong embroidery design that works perfectly with Babylock machines and looks great on fabric.