

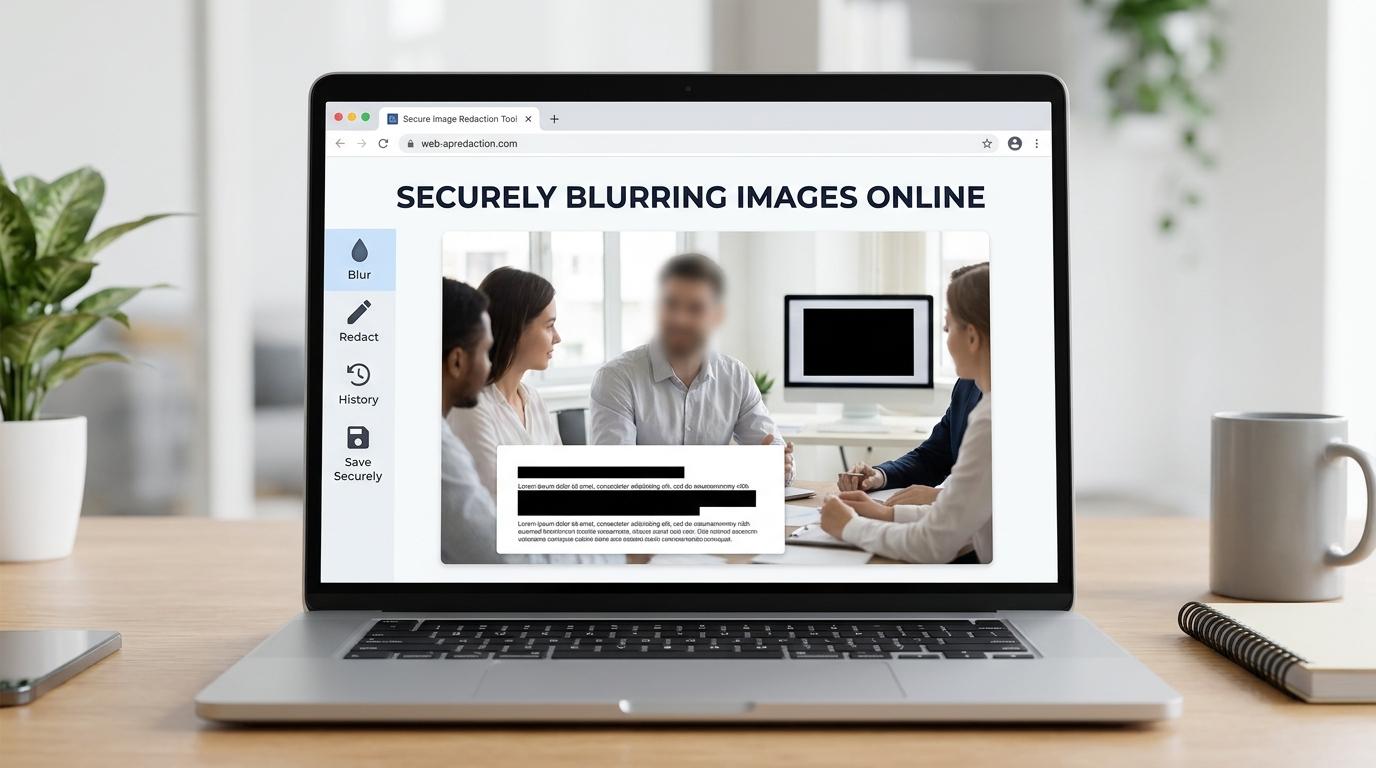

Quick Answer
To blur part of image online safely, upload the photo to a browser blur tool, brush a strong blur over faces or casual details, and use a solid black box for passwords, IDs and account numbers. Then zoom in to check your work, remove location metadata, and share only the edited copy.
Blurring Feels Safe. That Is the Problem.
For years, I treated blur like an eraser. A name in a screenshot, a face in the background, a house number behind a friend: a few swipes of a blur brush and I considered the job done. It looked hidden, so I assumed it was hidden.
Working in SEO changed how I think about this. I share screenshots constantly, of dashboards, client reports, search consoles and chat threads, and each one carries small details that do not belong to the reader. Once I started reading about how image obfuscation is actually tested, I realized that "looks hidden" and "is hidden" are two very different standards.
This article is the guide I wish I had read earlier. It is not only about how to blur part of image online. It is about deciding what to blur, when blur is the wrong tool, and the invisible information inside a photo that no amount of blurring will touch.
If you only want the steps, the free image blur tool on X2X Converter covers them in a minute. If you want your edits to actually protect people, keep reading. The workflow I share below also uses two quick checks: a tool that lets me see the GPS data inside a photo, and an image to text OCR tool that tells me whether blurred words can still be read by software.
What Blurring Really Does to an Image
A blur does not delete anything. It mixes. Each pixel in the selected area is replaced with an average of the pixels around it, so sharp edges turn into soft gradients. Letters lose their outlines, faces lose their features, and to the human eye the area looks like fog.
The key word there is "average." An average still carries information about what went into it. A strong blur mixes so many pixels that very little survives. A weak blur mixes only close neighbors, so the overall shapes, spacing and contrast of the original are still sitting in the image, just softer.
That is why the same tool can be safe or unsafe depending on how you use it. The method is not the problem. The settings and the type of information are.
What the Research Says About Blur and Pixelation
The study that changed my habits is a paper called Defeating Image Obfuscation with Deep Learning, by researchers from the University of Texas at Austin and Cornell Tech. They tested common hiding methods, including YouTube-style face blurring and mosaic pixelation, against standard machine learning models.
The results are worth knowing. On a dataset of faces from 40 people, their models identified blurred faces with about 57% accuracy and pixelated faces with over 95% accuracy across the mosaic settings they tested, compared with 2.5% for random guessing. The models did not rebuild the hidden image. They recognized who or what was behind it by matching against examples.
Cornell Tech's own news coverage put it plainly: machine learning can recognize pixelated faces and recover hidden details like a blurred house number, using techniques the researchers described as very standard in image recognition. Nothing exotic was needed.
That research is from 2016, and image recognition has only become more accessible since. I do not say this to scare anyone away from blurring. I say it because it changes one rule: blur is for reducing casual exposure, not for protecting high-stakes secrets.
When Blur Is the Right Choice
Blur still has a big, useful place in my workflow. I use it when the goal is to stop a casual viewer from noticing or reading something, and when the cost of someone working it out would be low. Examples:
-
Strangers in the background of a travel or event photo.
-
Coworker names and profile pictures in a chat screenshot.
-
Unrelated tabs, emails or notifications in a tutorial screenshot.
-
Store names, posters or clutter that distract from the subject.
-
A neighbor's car or house in a photo of your own front yard.
In these cases, a strong blur looks clean and natural, keeps the photo pleasant to look at, and makes the intent clear. Nobody squinting at a blog post is going to run a recognition model on a stranger's ear.
When You Should Use a Solid Box Instead
For anything that could cost someone money, access or safety, I stopped blurring and started covering. A solid opaque shape replaces the pixels completely, so there is no average left to analyze.
I use a solid box, or an opaque emoji on social posts, for:
-
Passwords, API keys, recovery codes and one-time codes.
-
Credit card, bank account and routing numbers.
-
Passport, ID card and driver's license numbers.
-
Home addresses, especially on parcels and documents.
-
Medical results, prescriptions and insurance details.
-
Faces of children or anyone who could be at real risk if identified.
When people search how to redact image content, this is what proper redaction means: covering, not softening. It looks less elegant, but elegance is not the goal when the information is sensitive.
My Privacy-First Workflow, Step by Step
This is the routine I follow every time I share an edited image. It sounds like a lot, but most steps take seconds once they become a habit.
Step 1: Check what the file reveals before you edit
Before touching the pixels, I look at the data. Phone photos often store GPS coordinates inside the file, and a quick run through the X2X Converter Image Location Extractor tells me whether this image will reveal where it was taken. If a pin lands on my home or office, I know I need to strip that before sharing, no matter how well I blur the visible parts.
Step 2: List everything that identifies someone
I scan the image slowly and list what needs hiding. Faces are obvious. The less obvious items are where leaks happen: name badges, school crests, lanyards, uniforms, parcel labels, monitor reflections, browser tabs and the edges of documents on a desk.
Step 3: Choose blur, pixelate or box for each item
For each item on my list, I decide on a method using the rules above. Casual details get blur. Sensitive strings get a solid box. If I want to pixelate image areas for a particular style, I use large blocks and never use pixelation on text that matters.
Step 4: Blur part of image online with strong settings
For the blur items, I upload the image to the X2X Converter Image Blur page. The tool gives me two controls: Brush Size, which starts at 20px, and Blur Amount, which starts at 10px. I usually raise the blur amount well above the default for faces and text, and I keep the brush slightly larger than the object so the outline does not give away its shape. "Undo Last Action" fixes a wrong stroke, and "Reset" starts over. When I am happy, "Download Image" saves the edited copy.
Step 5: Test the result like an outsider would
This is the step most people skip. I zoom to 200% and try to read the hidden area. Then I go one step further for text: I run the edited screenshot through an OCR tool that converts images to text. If OCR can pull even part of a name or number out of my blurred area, my blur is too weak and I go back to Step 4 or switch to a box.
Step 6: Shrink the file and remove location
A smaller image is lighter to share and carries less fine detail, so I often resize the image to the size I actually need. Then I remove location data. Resizing alone does not do that, so treat it as a separate step.
Step 7: Share the edited copy, never the original
I rename edited files with a clear suffix so I do not attach the original by mistake. It sounds silly until you are rushing and both files have nearly the same name.
Blurring Faces: More Than Just the Face
Learning how to blur face in photo shots properly is mostly about thinking wider than the face. People recognize friends from their hair, posture, clothes and the place they are standing. A blurred face next to a named sports jersey is not anonymous.
When a photo has several people, I like to count every face in a photo with a face counter before editing. It is surprisingly easy to miss someone half hidden behind a shoulder or reflected in a window.
My settings for faces are a large brush, a high blur amount, and full coverage from hairline to chin, including ears. For children or vulnerable people, I skip blur and use an opaque sticker or shape over the entire head.
Blurring Text: The Highest-Risk Edit
Text is where blur fails most often, because text follows rules. Fonts are known, letter widths are predictable, and the visible text right next to a blurred word tells an attacker exactly which font and size to test against. Short strings like a PIN or the last digits of a card are especially easy to guess.
So my approach to blur text in image screenshots is strict:
-
Use blur only for low-risk text such as names in casual chats, timestamps or unrelated messages.
-
Cover a wider area than the text so the word length is not obvious.
-
Check with OCR before sharing.
-
Use a solid box for anything financial, medical, legal or login related.
How to Blur a License Plate the Right Way
For anyone wondering how to blur license plate numbers in car photos, the edit itself is simple: medium brush, high blur, cover the whole plate plus the frame. The bigger question is what else in the image tells the same story. Parking permits, toll stickers, dealership frames and the house in the background can all point to you.
I blur plates by default in any photo taken at or near home. A plate on a public road is visible to anyone, but a plate plus your driveway plus your face in one public post is a neat package for a stranger.
How to Blur a Screenshot on iPhone
If you are looking for how to blur screenshot on iPhone, here is the practical truth: Apple's built-in Markup editor does not include a blur brush. It does let you draw with an opaque pen or add shapes, which is actually better for sensitive text because it covers the pixels completely.
For a softer look on names or faces, I open the X2X Converter Image Blur page in Safari, upload the screenshot from Photos, brush the area and download the result. Same tool, same steps as on a laptop.
Whichever method you use, remember the location layer. Apple's personal safety guide explains how to remove location metadata from iPhone photos: you can set a photo to No Location, or turn off Location in the share sheet's Options before sending so it shows "Location Not Included."
The Hidden Layer: Metadata Blur Cannot Touch
Every time I talk about blurring, I end up talking about metadata, because it is the part most people never see. EXIF data can include the camera model, settings, the date and time a photo was taken, and precise location details.
The FBI's Oregon field office published a helpful note on the dangers of EXIF data. Their advice lines up with my workflow: strip EXIF before sharing, especially for photos taken inside homes or businesses, check your work with an EXIF viewer, and remember that a photo can still reveal identifying details even without metadata. They also point out that lower-quality images can still carry EXIF data, so image size tells you nothing about what is hidden inside.
This is why I check location in Step 1 and remove it in Step 6. Blurring a street sign while sending exact GPS coordinates in the same file is like closing the curtains and leaving the front door open.
Blur, Pixelate, Censor, Redact: A Simple Decision Guide
These words get used interchangeably, so here is how I separate them in practice:
-
Blur: smooth haze. Best for faces, backgrounds and casual details. Strength matters.
-
Pixelate: square blocks. Fine for style or video faces, weak for text unless blocks are large.
-
Censor image: the umbrella term. Any method of hiding part of a picture.
-
Redact image: permanent removal with an opaque cover. The right choice for documents and sensitive numbers.
When in doubt, I ask one question: if someone figured out what is under this patch, what is the worst that could happen? If the answer is "mild embarrassment," blur is fine. If the answer involves money, safety or legal trouble, I use a box.
Do You Need a Full Photo Editor to Blur a Photo?
Short answer: usually not. I have used desktop editors for years, and they are excellent for layered design work. For hiding one face or one line of text, they are slower than they need to be. You open the file, find the right selection tool, find the blur filter, adjust a radius, flatten, and export. That is a lot of steps for a thirty second job.
A browser tool removes most of that. If you want to blur image online free, with no account and nothing to install, a single-purpose tool gets you from upload to download quickly, and it works the same on a work laptop and a personal phone. That consistency matters more than it sounds, because privacy habits stick when the tool is always within reach.
Where a full photo editor blur image workflow still wins:
-
You need precise selections around hair or complex edges.
-
You are editing many layers or preparing print files.
-
You want motion blur, lens blur or other creative effects.
-
You are working with video rather than still images.
For everything else, such as the moment you need to blur picture details before posting, I reach for the quick option. When I blur part of image online this way, I spend my time on the decisions that matter, like what to hide and how strongly, instead of hunting through menus. You can also blur photo backgrounds lightly for a cleaner look, but for privacy edits, keep the blur strong.
Can Someone Clear a Blurred Image Online?
People often search how to clear blur image online, usually because they have a shaky photo they want sharper. Deblur and sharpen tools can help with mild camera blur, because some edge detail remains.
They are not built to undo a deliberate, heavy blur, and they cannot bring back details that were truly averaged away. But as the research above shows, recognition does not require perfect reconstruction. A model only needs enough of a signal to match a face or guess a word. That is the real reason weak blur is risky: not because someone can "unblur" it like in a crime drama, but because the leftover pattern can be enough.
Two practical takeaways follow. Keep your original if you might need it later, because you will not get it back from the blurred copy. And when you hide something, hide it strongly.
Habits That Keep Shared Photos Safer
Editing is only part of privacy. The phone that holds your originals matters too. The FTC suggests three ways to protect the personal info on your phone: lock it with a passcode of at least six digits, keep the operating system and apps updated, and back up your data with lost-phone tracking turned on.
My own small habits on top of that:
-
I turn off location for the camera unless I specifically want it.
-
I take a fresh screenshot of only the needed area instead of cropping a full-screen capture.
-
I close unrelated tabs and notifications before capturing a screen.
-
I keep a "to share" folder for edited copies only.
-
I review old public posts once in a while with today's standards.
What I Would Tell a Friend Starting Out
If a friend asked me for the short version, I would say this: blurring is a good habit, but it is a visual habit. It changes what people notice, not what a determined person can learn. Use it generously for everyday privacy, use it strongly when you use it, and do not let it give you false confidence about passwords, IDs or anyone's safety.
The good news is that doing this properly is not hard. You can blur part of image online in a browser in about a minute, check it with OCR in another minute, and clean the location data in a few taps. That small routine prevents most of the leaks I see in shared screenshots.
I also think it is worth being kind about other people's mistakes. Almost everyone has shared a screenshot with a little more than they intended. The point of a workflow is not perfection. It is catching the obvious things before they go out.
Key Takeaways
-
Blur mixes pixels rather than deleting them, so weak blur can leave enough pattern to be recognized.
-
Research found machine learning could identify blurred and pixelated faces far better than chance.
-
Blur part of image online for faces, backgrounds and casual details, with a strong blur amount.
-
Use solid boxes for passwords, account numbers, IDs, medical details and vulnerable people.
-
Test text edits with OCR, remove location metadata, and share only the edited copy.
Frequently Asked Questions
1. What is the safest way to blur part of image online?
Use a strong blur amount and a brush slightly larger than the object, then zoom in and test the result. For sensitive information such as passwords or account numbers, use a solid opaque box instead of blur, since covering removes the pixels completely.
2. Can AI recognize a blurred face?
Sometimes, yes. A study by researchers from the University of Texas at Austin and Cornell Tech showed standard machine learning models identifying blurred and pixelated faces far more accurately than random guessing. Strong blur helps, but opaque covering is safer for people at risk.
3. Is pixelation safer than blur?
Not necessarily. In the same research, pixelated faces were identified even more often than blurred ones. Pixelation with small blocks is especially weak for text. Use large blocks for style, and an opaque box for anything sensitive.
4. How do I check if my blurred text is really hidden?
Zoom to at least 200% and try to read it yourself. Then run the edited image through an OCR tool. If any characters can be recognized, increase the blur strength or replace the area with a solid box.
5. Does blurring a photo remove its GPS location?
No. Blurring only changes visible pixels. Location and other EXIF metadata stay in the file. Remove it separately, for example by choosing No Location on iPhone or turning off Location in the share options.
6. How do I blur a screenshot on iPhone without an app?
Open an online blur tool in Safari, upload the screenshot from Photos, brush the area and download the result. For sensitive text, use iPhone Markup with an opaque pen or shape, which covers the pixels completely.
7. Should I blur my license plate in photos?
It is a personal choice, but it is a sensible default for photos taken near home. Blur the full plate and frame, and check for stickers, permits or house numbers that reveal the same information.
8. What is the difference between censor and redact?
Censor is a general term for hiding part of an image by any method, including blur, pixels or emoji. Redact means permanently removing sensitive information, usually with a solid opaque cover, and is the standard for documents.
9. Can a blurred image be restored to the original?
A heavily blurred area cannot be reliably restored, because detail was averaged away. However, weak blur can leave enough pattern for recognition tools to guess what was underneath. Keep your original file if you might need it later.
10. Is it safe to use an online tool for private photos?
Use tools that do not require an account and avoid uploading highly sensitive documents anywhere you do not trust. For ID cards or financial papers, cover the sensitive areas first or use an offline editor, then share only the edited copy.
Conclusion
Blurring is one of the simplest privacy habits you can build, and it deserves a place in everyone's routine. Just treat it for what it is: a way to reduce casual exposure, not a vault. Strong blur for everyday details, solid boxes for secrets, and a quick check of metadata before anything leaves your device.
If you want a fast place to start, try the Image Blur tool on X2X Converter for your next screenshot or group photo. Upload, brush, test, and share the clean copy. It takes about a minute, and it is free.